|
I can not believe we used to carve out a turnip with a teaspoon when I was a kid! Now that was some job. These days a carved out pumpkin lasts a couple of days before the mould sets in, so........No more carving and scooping the veggies. Bring on the glitter!! 
0 Comments
There is little without potential to be crafted into something else at ours! And with that comes innovation and thinking outside the 'box' which is a valuable attribute for kids to acquire. It helps their brains develop and gives them confidence to try new ways of doing things. It's a simple enough craft here but a bag of old baby socks kept for some sentimental reason becomes an endless source of socklet amusement. There was no sewing needed, just some super tacky glue, a black felt tip, some random embellishments, and stuffing (socks themselves can be used to stuff)! Just let them go crazy. We ended up with entire families and some early Halloween Ghostlets! 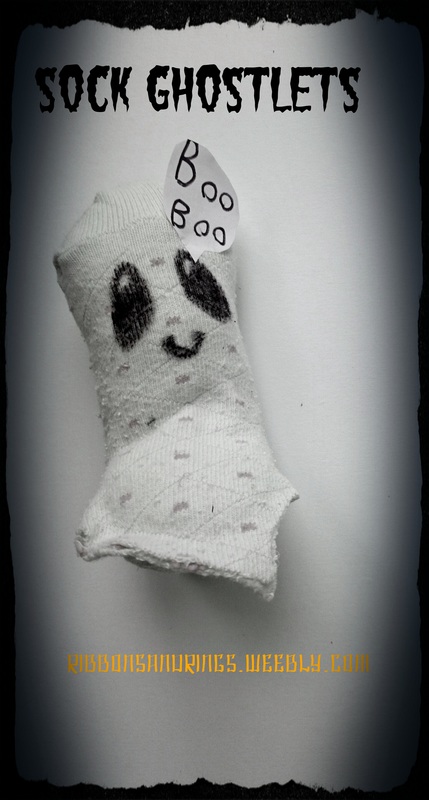 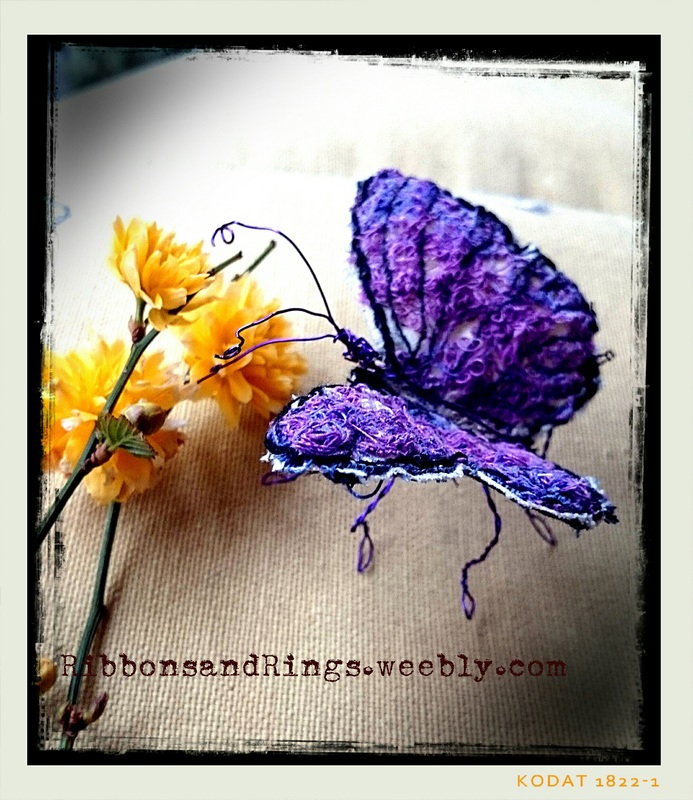 This butterfly started life as cotton with copious amounts of free machine sewing onto it. I can't wait to try this on dissolvable film which would give a more ethereal, transparent feel to the piece. It then went on to sit in a frame for a while. Then keen to not be 'pinned down' it now has wire legs, attenae, tongue. Do butterflies have tongues?
I need to build the body and head with more hand sewing but I like the creepy insectness of its wire legs. I like that wirework and fabric can work together. 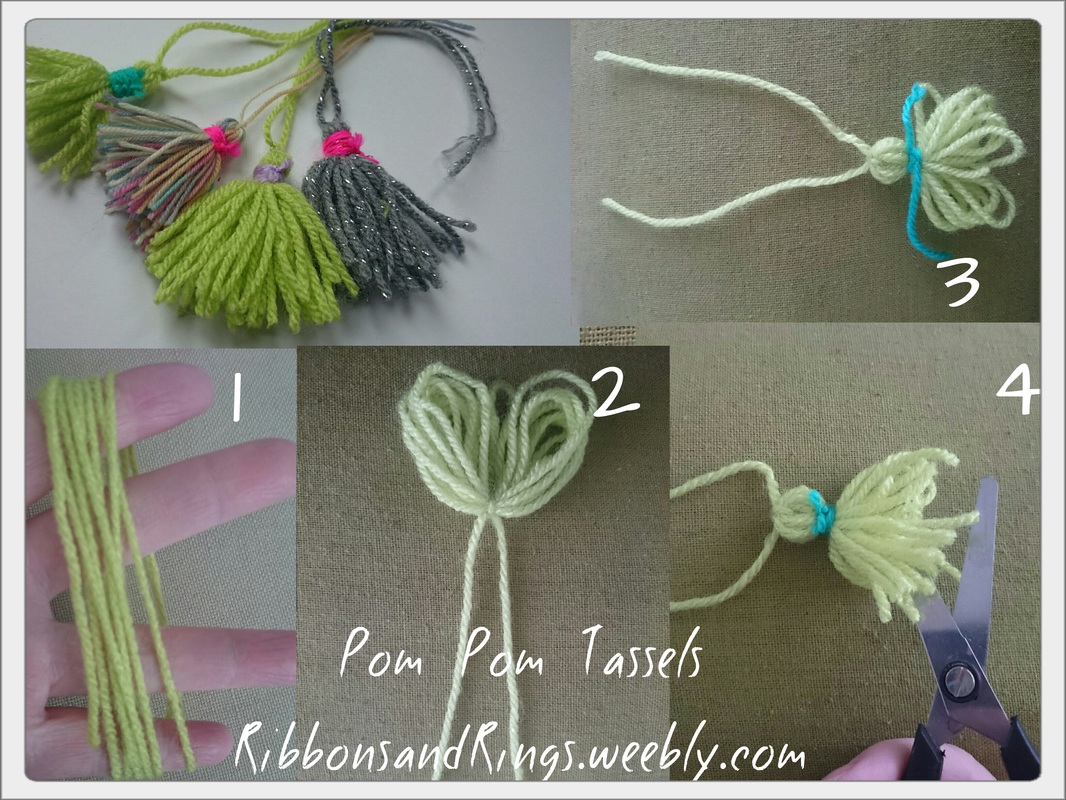 If like me you're utterly sick of looking at a tangled stash of abandoned wool, which will never find its way to a pair of needles and becoming a wearable item this side of the next millennium, then you've GOT to have a go at making Pom Pom Tassels! Once you've a few in hand then you'll want to start pinning them all over the place and they are very much in the whole Granny Chic vibe without being too doily and dusty. The photo instruction tells you pretty much everything you need to know. The thinner the yarn/wool then the better the dangliness! But that's up to you.
 At long last it's Spring.........Although winter was mild this year it was still a case of wrap up and forge on with the rain and inclement weather. One day rainy, the next rainy, the next cold, the next back to rainy.....and so on. You know how it goes!
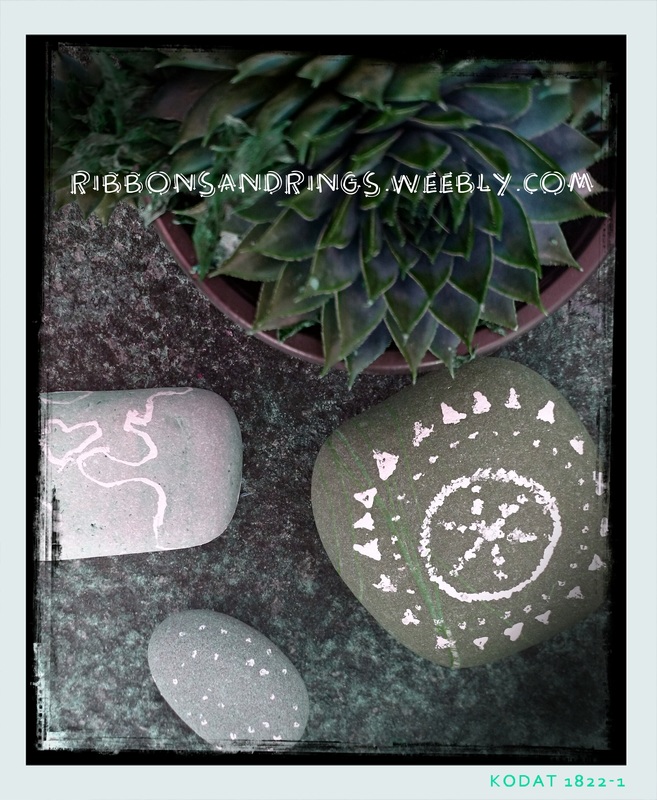
But today the sun is shining, it's usually warm, folk are tentatively stepping into their winter worn gardens and thoughts, in my head anyhow, turn to nature crafting. Last year's beach pebbles have lasted the winter drizzle remarkably well. No fancy paints needed just a Tippex fineliner style pen. The ink from other pens like sharpies just sink into the porous stone but tippex sits on top. They aren't so easy to drag and draw with but easier to dot a pattern. Best of all though it lasted outside for months. Time to turn our crafting ideas to Easter trees (branches already collected on winter walks), decorating eggs, making fairy houses......the list is endless. Roll on Spring. Yes, socks can be turned into gorgeous keepsakes, you just need to have teeny tiny cute ones. I loathe throwing baby things out and keep way too much stuff. It's all hidden away in boxes and bags but here's an innovative way to use those much loved baby things. 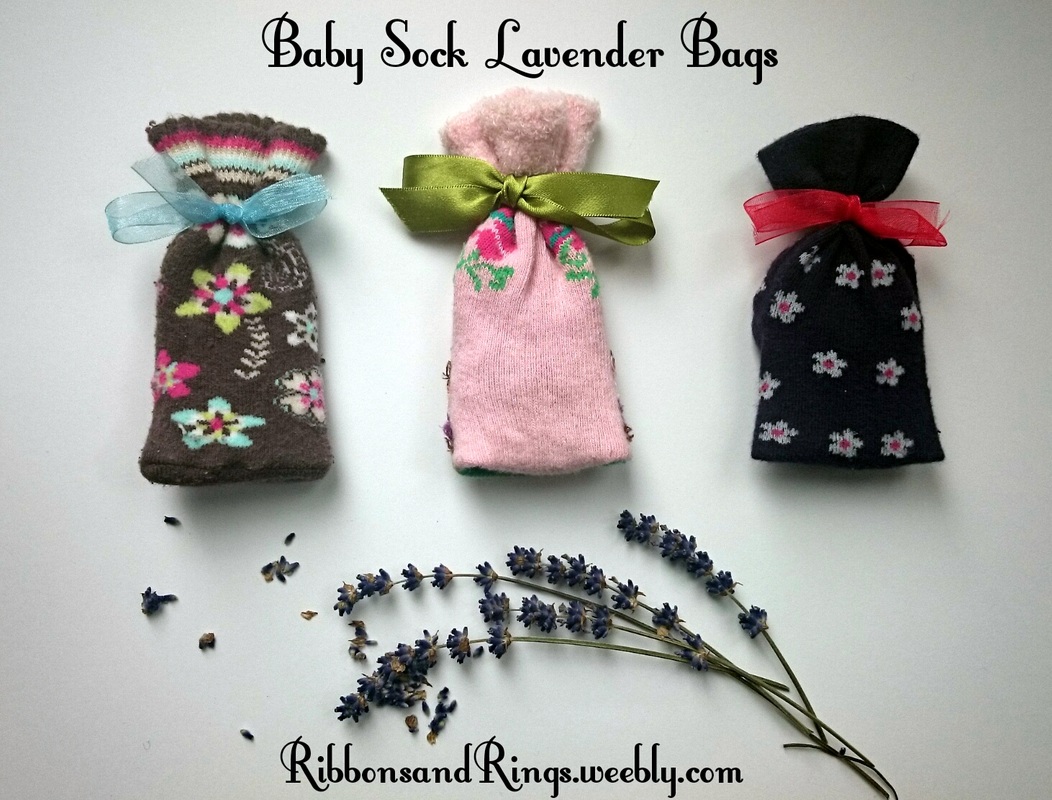 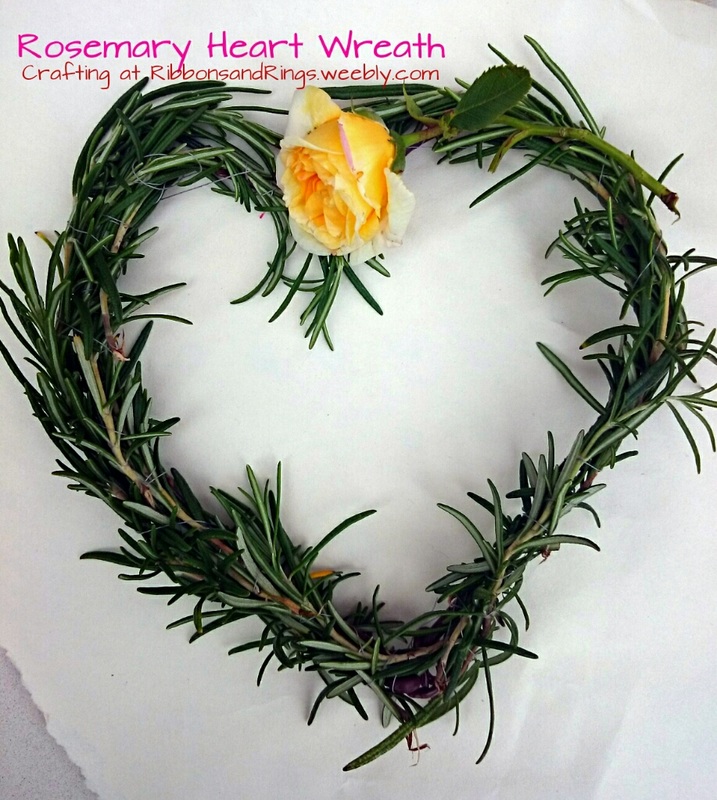 I am an utterly rubbish cook. I have no culinary imagination whatsoever unless desserts and sugar are involved. But I do 'get' the herb growing thing. Not for use in cooking, of course, but for making pretty, reminiscent items for around the house. A friend came to me with a huge bunch of rosemary and a hankering for heart shaped wreath making. So, we (kids and all) quite happily sat wrapping and wiring with this amazingly scented herb and here's what we came up with.
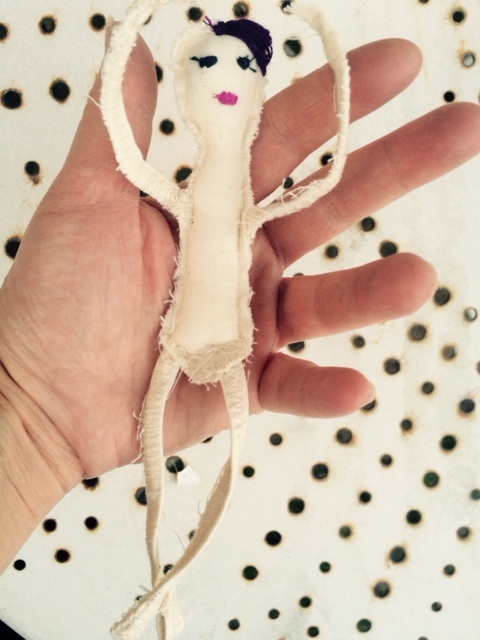
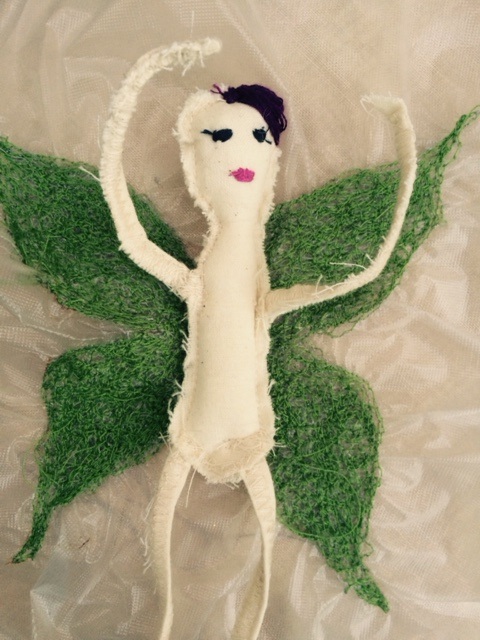
INGREDIENTS: Scissors and thin wire or strong thread for tying. Herbs, lots of it, (any I suppose that smell nice, of course) Lavendar, rosemary and this is where my list stops because I'm rubbish with the cooking thing remember. You fill in the missing herbs. A base shape, made from wire, supple thin branch would be good, thin strong cardboard cut to shape or paper rolled and fixed in place with sellotape or duct tape. Don't be put off because you don't have the exact expected materials. Think outside the box. Or even use the box! The Magic Bit: Take your base shape, at the top of the shape attach a piece of wire or thread to it, take two to three inch pieces of herb (for lavender you will need several stems at a time whereas rosemary is thicker) and with the leaf or flower head facing up towards the top of the shape start attaching at the base of the stems. Take your next set of herbs and place a cm or two further down and attach at the base and so on, layering down as you go. I actually attached mine in the reverse manner from the bottom up and layering underneath but this seems silly when I think about it. Use plenty as the herb with dry out and thin. My rosemary has dried and started to drop off unfortunately. I now have the most beautiful bunch of lavender from another good friend so I will have to learn how to dry herbs out so they don't drop and disintegrate all over. For years I've been weirdly fascinated by cloth dolls. Not your usual rag doll but more primitive, simple, scrappy muslin cloth dolls. Years ago I found a pattern in a library book tutorial for a type of antique style north american cloth doll. I made several of these and tweaked them to add hair (from crochet yarn) and little features to make them more lifelike. Twenty or so years on they are still wearing their blusher! A little frayed around the edges and the odd leg has had to be sewn back on but that's way I like em! Characterful and charming. It's not everyone's cup of tea but it speaks to me of simple toys and the legacy they can have. Cloth and rag dolls have been played with since ancient times and well preserved finds go back way way back. Mine will no doubt need a lot more stuffing!!  Naive Cloth Dolls  A more recent cloth doll project for me has produced this little lady, as yet unnamed. When she has had a full metamorphosis, she will have wings attached. These were randomly machine sewn onto dissolvable material (Avalon Film) making sure to overlap the thread so that it holds together after being washed and dried. When sewing onto film it's a good idea to fix before sewing into an embroidery ring as the film will ruck while you sew. I think I killed my sewing machine with the freestyle heated wing sewing. Aww. New motor needed. The wings are sewn and just need to be rinsed and pinned out to dry. She has only one side of hair so far, bless her, but will be dressed in a fifties style dress (I think) and will wear a polka dotted button for a hat which will sit at a jaunty angle. Her legs and arms are wire based and her 'skin' was sewn around and over the wire. So they are bendable giving her a little ballerina vibe. She's an ongoing project that I pick up and put down. If you have any rag doll or cloth doll projects I would to hear about them in the comments below.
We all know how obsessed I am by thinking of pretty ways to reuse plastic and so it's only natural that I came up with these fabric cuff bracelets.  Cut a selection of strips of fabric. I used pieces about 1.5 cm thick and to get the maximum length out of the sample I had I cut as the per the picture below. Once pulled out in length and wrapped around the base the edge pieces should be hidden.  Cut a piece of plastic from a milk carton and tape to appropriate wrist size with duck tape or similar.  Tape carton to appropriate size With the first strip of fabric knot around the base then begin to wrap, overlapping as you go all the way around. 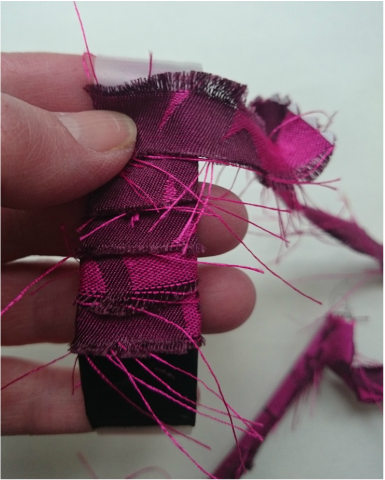 Once the entire bracelet is wrapped you can knot to finish and trim off any excess ends and wotnot.
|
Categories
All
|

 RSS Feed
